Installing, configuring, and utilizing Nessus to scan vulnerable machines.
Project Overview
The primary goal of the project was to:
- Install and set up Nessus on an Ubuntu system
- Perform both basic and credentialed network scans
- Customize scan policies and configurations
- Analyze scan results to identify and prioritize vulnerabilities
- Implement best practices to minimize scan impact on network resources
Installation and Setup
Downloading Nessus
I began by downloading the Nessus package suitable for Ubuntu from the official Tenable website:
- Download Page: https://www.tenable.com/downloads/nessus?loginAttempted=true
Registering for an Activation Code
An activation code is necessary to activate Nessus. I registered using my college email to receive a Nessus Essentials activation code:
- Registration Page: https://www.tenable.com/products/nessus/activation-code
Installing and Starting Nessus
Using the terminal, I installed Nessus with the following command:
- sudo dpkg -i Nessus-10.7.4-ubuntu1404_amd64.deb
After installation, I initiated the Nessus service:
- sudo systemctl start nessusd.service
Accessing Nessus Essentials
After running the systemctl command shown above, Nessus should start running locally on port 8834.
Navigate to https://localhost:8834/ on your web browser, you may need to click past a security warning.
Safety Precautions
To prevent potential disruptions:
- Enabled Safe Checks: This minimizes the risk of crashing fragile applications or services.
- Adjusted Performance Settings: Configured the scan to slow down upon detecting network congestion.
- Set Host Responsiveness Checks: Stopped scanning hosts that became unresponsive.
Advanced Scan
With advanced scan options you can perform:
- Wordlists for Brute Forcing: Added custom wordlists to test for weak passwords.
- Web Application Tests: Enabled web crawling to discover hidden vulnerabilities.
- User Enumeration: Performed RID brute forcing for user enumeration.
Credentialed Scan (Most effective)
Credentialed scans offer a deeper level of vulnerability assessment. In the Credentials tab:
- Windows Credentials: Added options such as password, Kerberos, LM, and NTLM hashes.
- Database Credentials: Configured credentials for databases like Oracle, PostgreSQL, MySQL, and SQL Server.
- Plaintext Service Authentication: Enabled authentication for services like FTP, HTTP, IMAP, IPMI, and Telnet.
Addressing Common Issues
Firewall Interference
When scans showed all ports as open or closed due to firewall restrictions, I:
- Disabled ICMP Pings: In an Advanced Scan, I turned off the “Ping the remote host” option, allowing the scan to proceed without initial ICMP checks.
Scan Impact Management
To mitigate potential negative effects:
- Adjusted Concurrent Checks: Modified the Max Concurrent Checks Per Host to limit resource usage.
- Avoided DoS Checks: Ensured that Denial of Service plugins were not enabled, as DoS testing was out of scope.
- Enabled Safe Checks: Reduced the risk of disrupting services during the scan.
Monitoring Network Impact
Used vnstat to monitor real-time network traffic during scans:
sudo vnstat -l -i eth0
Analyzing the Scan
Upon completion, the scan revealed:
- 76 Critical Vulnerabilities
- 129 High
- 41 Medium
- 2 Low
- 252 Informational
These elevated numbers were expected due to the target being deliberately vulnerable.
Vulnerability Management
- Severity Ranking: Reviewed vulnerabilities sorted by CVSS v3.0 scores.
- Filtering: Used filters to focus on specific vulnerabilities.
- Prioritization: Identified critical issues for immediate remediation.
Key Learning and Skills Demonstrated
Vulnerability Assessment: Gained hands-on experience in identifying and analyzing network vulnerabilities.
Tool Proficiency: Developed expertise in configuring and utilizing Nessus for various scanning scenarios.
Security Best Practices: Applied safe scanning techniques to minimize the risk to network resources.
Problem-Solving: Addressed common issues like firewall interference and scan impact management.
Data Analysis: Interpreted scan results to make informed decisions on vulnerability prioritization.
From CPTS to OSCP+: Using the…
From CPTS to OSCP+: Using the Sword to Slay the Dragon From CPTS to OSCP+: Using the Sword to Slay the Dragon So I passed the OSCP+ WOOHOO!!!. Now it’s time for me to help…
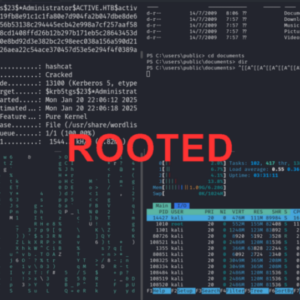
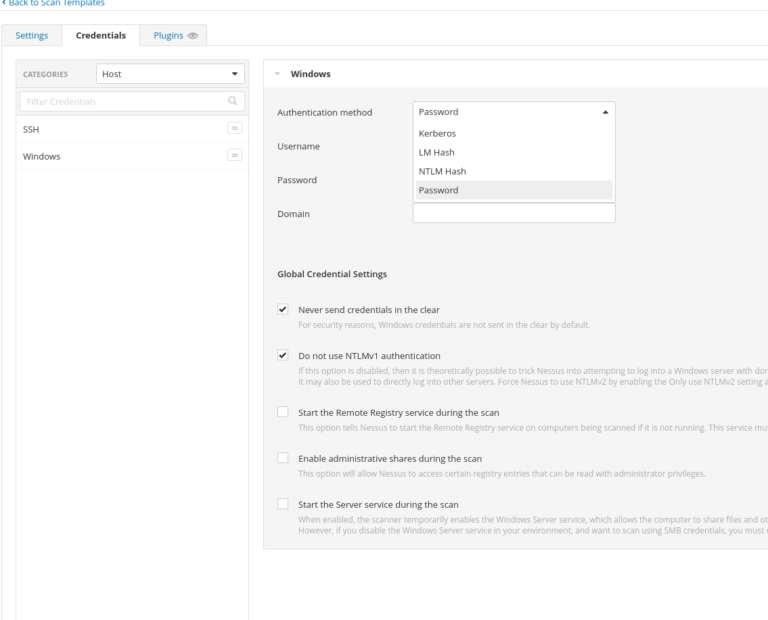
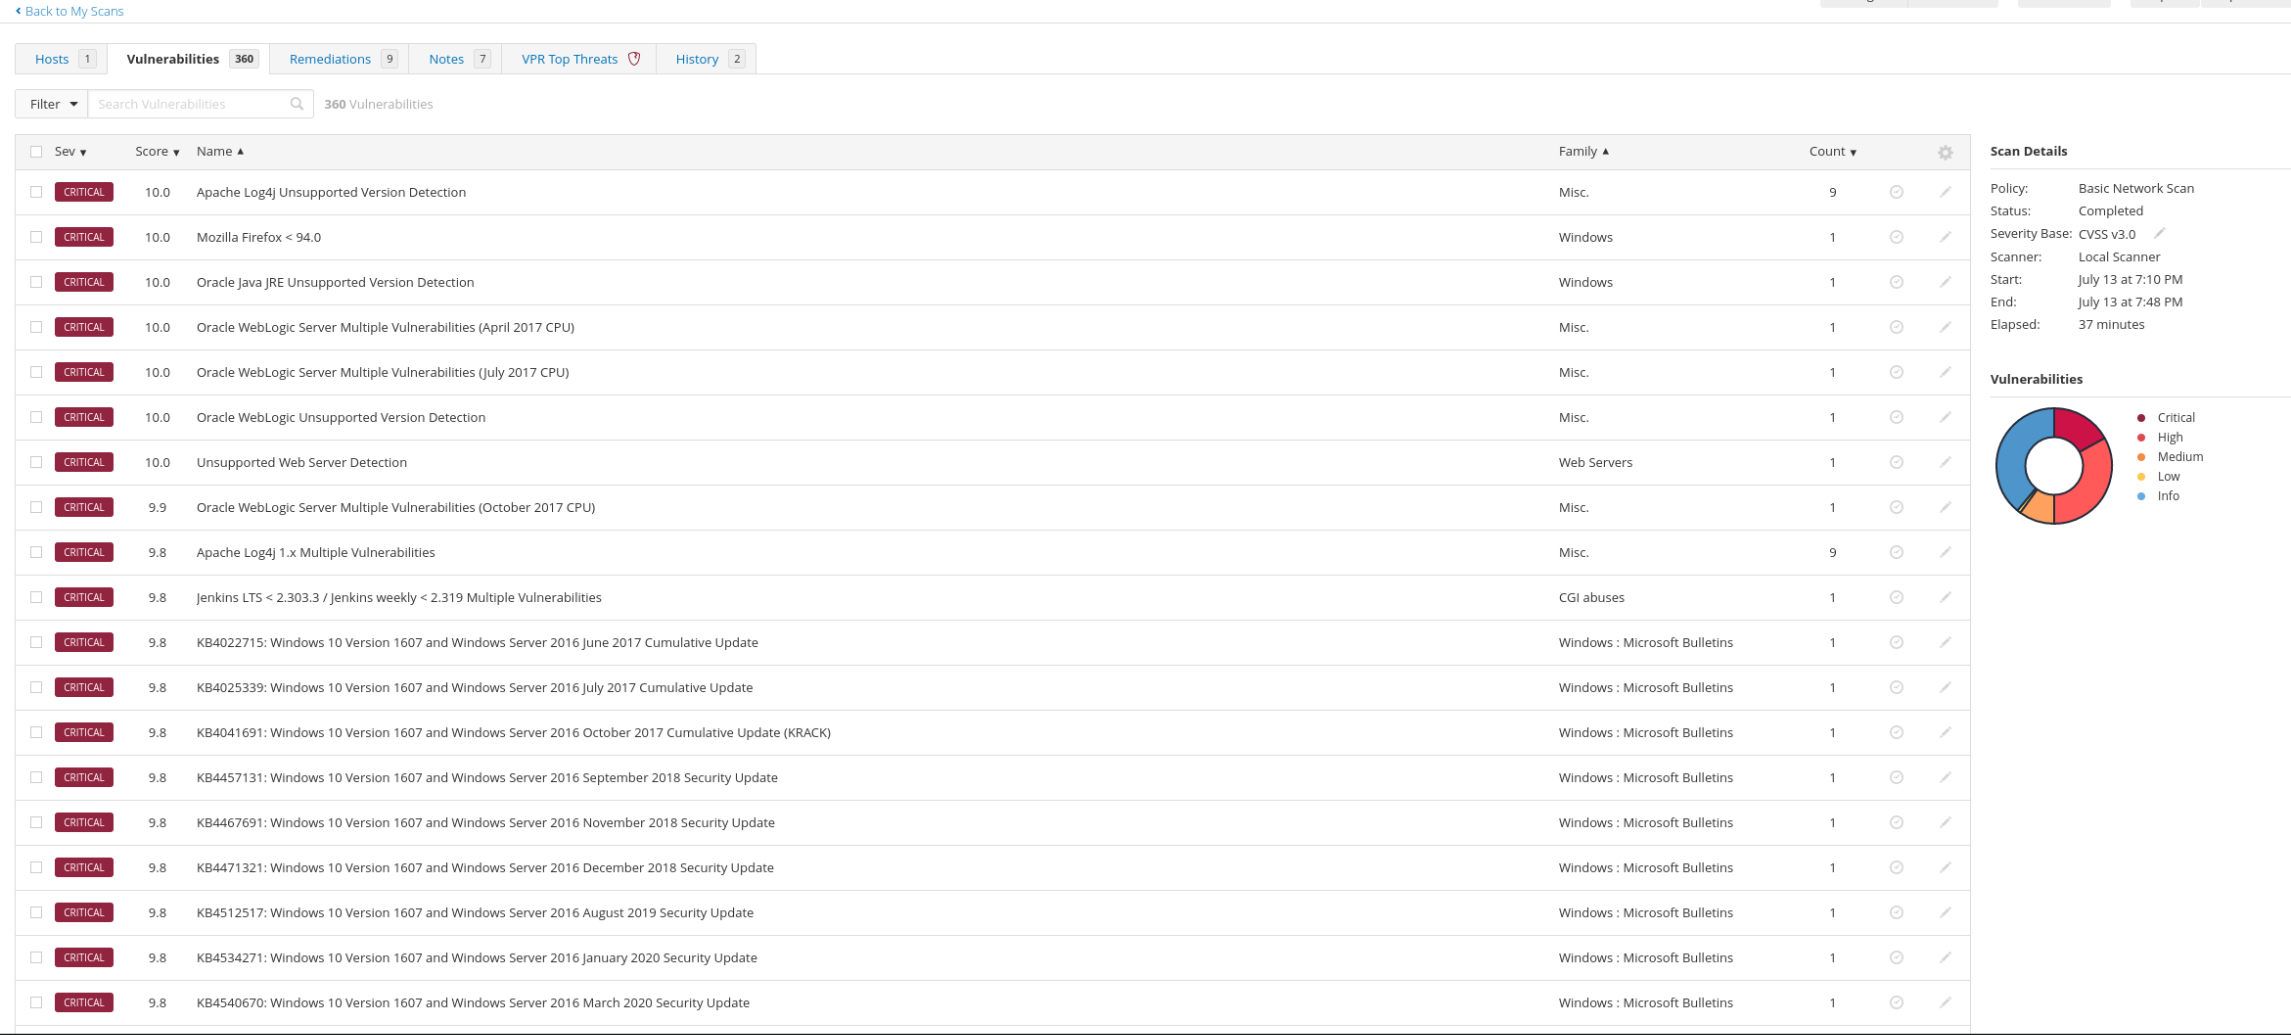
Penetration Testing Writeup: “Active” (Retired Machine…
Executive Summary This report summarizes a penetration test conducted against a Windows Active Directory environment. The testing identified critical vulnerabilities including the storage of administrative credentials in Group Policy Preferences (GPP) and weak password policies,…
My Methodology for Passing Any Certification…
My Methodology for Passing Any Certification in Under 2 Months Hello! I wanted to share my methodology for earning certifications and learning efficiently without sacrificing quality. Over the years, I’ve developed a system that helps…